| Real-Time Workshop | |
Tutorial 2: Data Logging
The Real-Time Workshop MAT-file data logging facility enables a generated program to save system states, outputs, and simulation time at each model execution time step. The data is written to a MAT-file, named (by default) model.mat, where model is the name of your model. In this tutorial, data generated by the model f14rtw.mdl is logged to the file f14rtw.mat. Refer to Tutorial 1: Building a Generic Real-Time Program for instructions on setting up f14rtw.mdl in a working directory if you have not done so already.
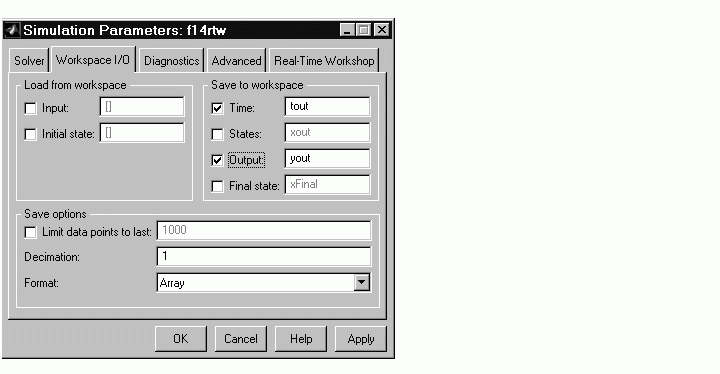
To configure data logging, you use the Workspace I/O pane of the Simulation Parameters dialog box. The process is nearly the same as configuring a Simulink model to save output to the MATLAB workspace. For each workspace return variable you define and enable, Real-Time Workshop defines a parallel MAT-file variable. For example, if you save simulation time to the variable tout, your generated program logs the same data to a variable named (by default) rt_tout.
In this tutorial, you will modify the f14rtw model such that the generated program saves the simulation time and system outputs to the file f14rtw.mat. Then, you will load the data into the MATLAB workspace and plot simulation time against one of the outputs.
To use the data logging feature:
rt_tout.
rt_yout.
rt_yout array is based on the port number of the Outport blocks, starting with 1. Angle of Attack and Pilot G Force will be logged to rt_yout(:,1) and rt_yout(:,2), respectively.
1 and Format to Array. Then click Apply.
f14rtw program must be rebuilt, because you have changed the model by enabling data logging. Select Build Model from the Real-Time Workshop menu of the Tools menu in the Simulink window. This is an alternative way to start the Real-Time Workshop build process. It is identical to using Build button in the Simulation Parameters dialog box.
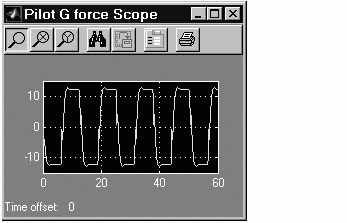
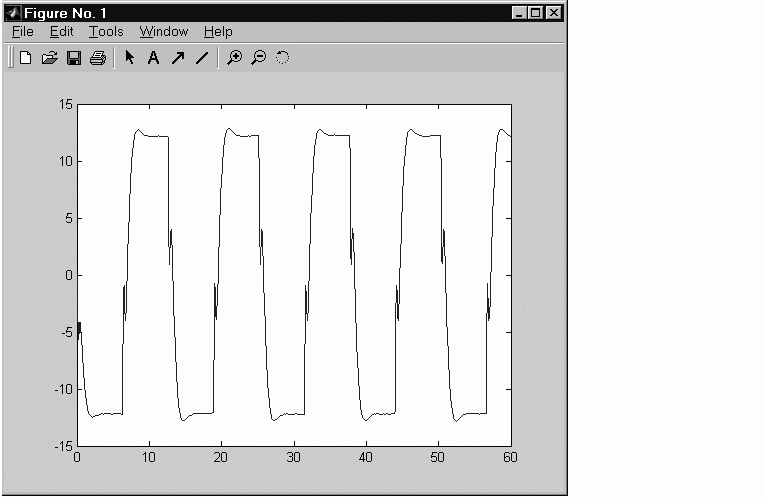
rt_tout (time) and rt_yout (G Force and Angle of Attack) have been loaded from the file. Plot G Force as a function of time.
| | Tutorial 1: Building a Generic Real-Time Program | Tutorial 3: Code Validation | |