| xPC Target | |
Adding an xPC Target Scope Block
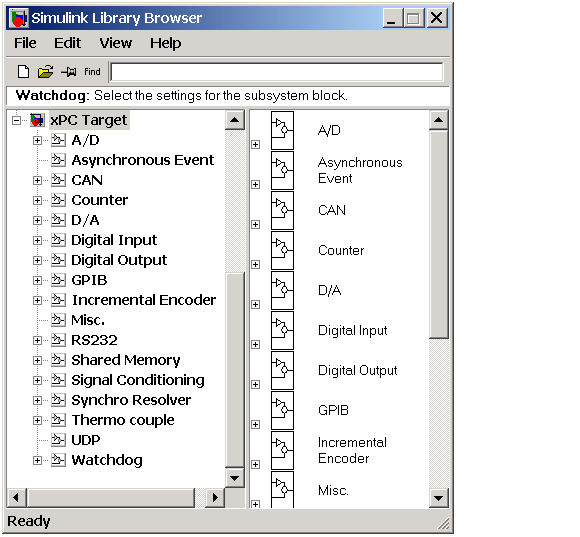
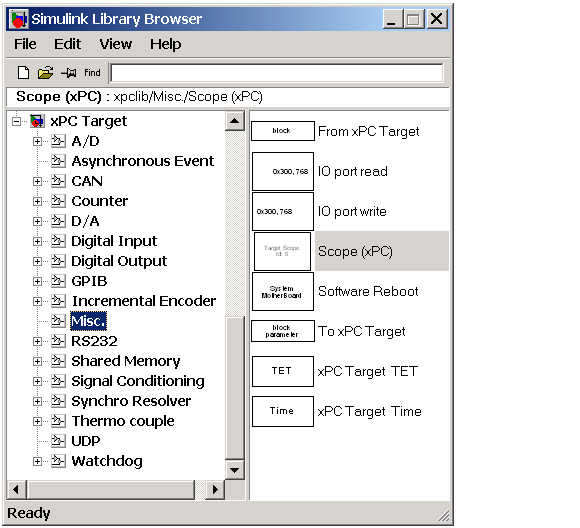
xPC Target does not support the standard Simulink Scope blocks, but it does support xPC Target Scope blocks, which have unique capabilities when you use them with an xPC Target application. These xPC Target Scope blocks should not be confused with standard Simulink Scope blocks.
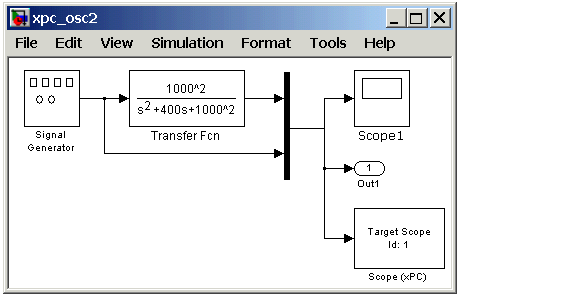
Adding xPC Target Scope blocks to your Simulink model saves you the time to define and select signals after you download the target application to the target PC. Also, the signal information is saved with your model.
After you create a Simulink model, you can add an xPC Target Scope block. The following procedure uses the Simulink model xpc_osc1.mdl as an example to show how to connect an xPC Target Scope block to your model:
Your next task is to define the xPC Target Scope block parameters. See Entering Parameters for an xPC Target Scope Block.
| | Entering Parameters for Outport Blocks | Entering Parameters for an xPC Target Scope Block | |