| Embedded Target for Motorola MPC555 | |
Rebuilding the Controller and Cosimulating
You are now ready to rebuild the PIL code and library components. This time, however, you will build from the Configurable Subsystem, which must be linked back to the fuel rate controller subsystem in the library. Before continuing, right-click on the Configurable Subsystem and make sure that, in the Block choice submenu of the context menu, fuel rate controller is selected. Do not select fuel rate controller (SIL) or fuel rate controller (PIL).
To rebuild the PIL code and library components:
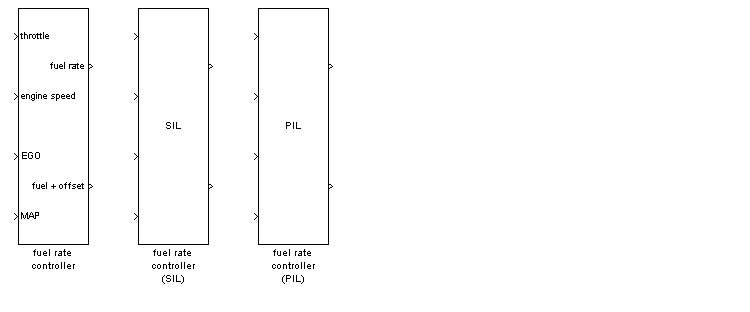
fuel_lib library is again activated. Observe that the rebuilt SIL and PIL components now have two outports, like the original subsystem from which they were generated, as shown in this figure.
fuel rate controller (PIL) from the Block choice submenu of the context menu.
fuel with offset scope and the Metered Fuel scope should display signals that are identical except for their offsets. Otherwise, all signals should be identical to the signals generated by the previous cosimulation.
In the next section, you will use the other components of the fuel_lib library in simulations.
| | Modifying the Controller | Tutorial 3: Using the Demo Model In Simulation | |