| Real-Time Workshop Embedded Coder | |
Assigning a Custom Storage Class to Data
You can assign a custom storage class to a Simulink data object either from the Simulink Data Explorer, or from the MATLAB command prompt.
Assigning a Custom Storage Classes via the Simulink Data Explorer
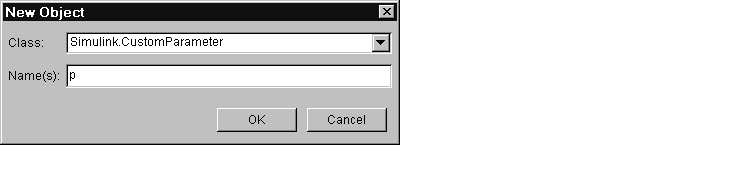
To create a custom parameter or signal object from the Simulink Data Explorer:
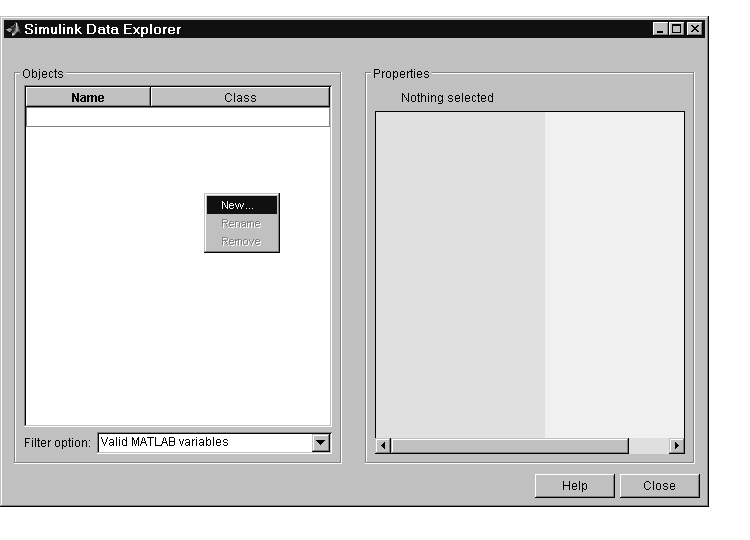
slexplr at the MATLAB prompt. The Data explorer dialog box appears.
RTWInfo field by clicking on the + button next to the field name. Similarly, open the RTWInfo.CustomAttributes field to show the class-specific attributes of the object (if any). This figure shows the initial properties of the Simulink.CustomParameter object p.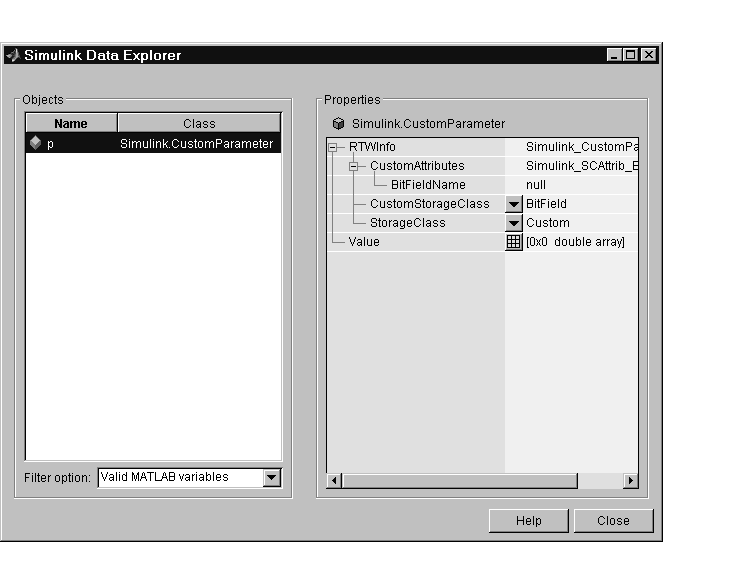
RTWInfo.CustomStorageClass property from the CustomStorageClass menu. In this figure, the custom storage class of the object p is being changed from BitField to Define
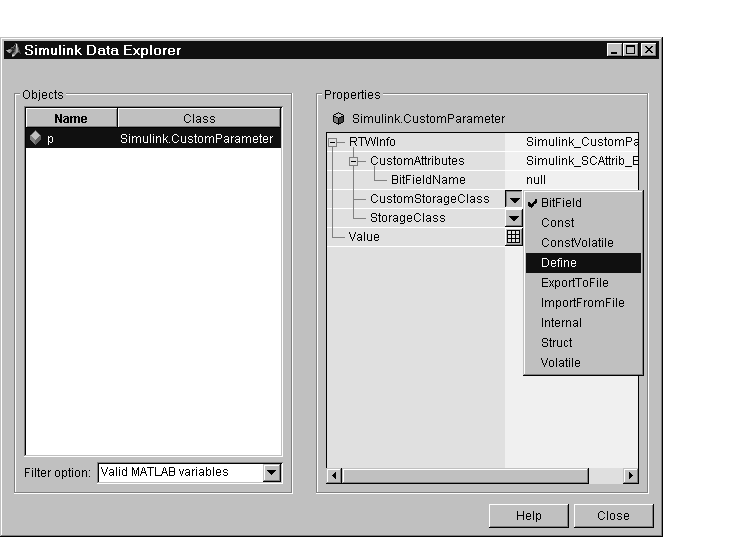
p is set to Define. Notice that the BitFieldName attribute is no longer displayed, since that attribute applies only to objects whose custom storage class is BitField. 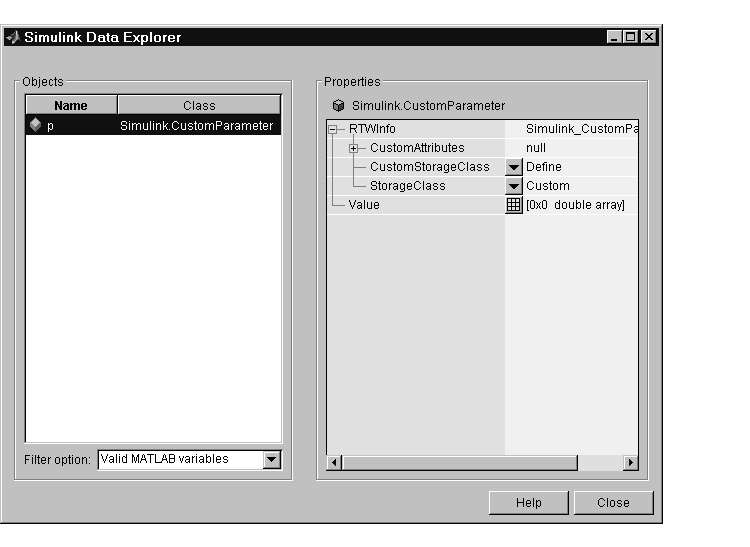
RTWInfo.StorageClass property is set to Custom. If this property is not set to Custom, the custom storage properties are ignored.
Assigning a Custom Storage Class via the MATLAB Command Line
You can create custom parameter or signal objects from the MATLAB command line. For example, the following commands create a custom parameter object p and a custom signal object s:
After creating the object, set the RTWInfo.CustomStorageClass and (optional) RTWInfo.CustomAttributes fields. For example, the following commands sets these fields for the custom parameter object p:
Finally, make sure that the RTWInfo.StorageClass property is set to its default value, Custom. If you inadvertently set this property to some other value, the custom storage properties are ignored.
| | Other Custom Storage Classes | Code Generation with Custom Storage Classes | |