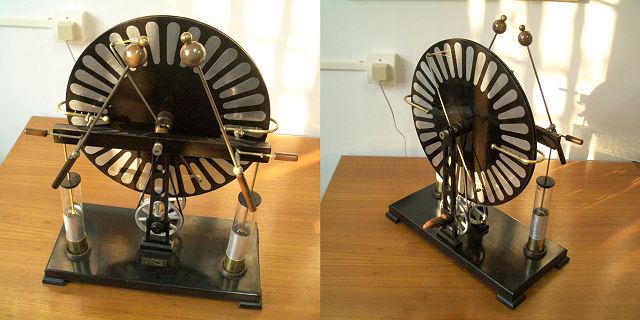
The machine after the restoration in 2005
In July-August, 1997, I restored an old Wimshurst machine from the museum at the UFRJ Engineering School. I don't have data about the history of that machine. It has a label saying "Empreza Progresso", with an address in Rio de Janeiro. Probably the seller. The machine had ebonite disks with 31 cm of diameter, in good structural integrity, but with the surfaces deteriorated to a brown color, with all the original metallic sectors corroded, probably by a combination of the sulphuric acid liberated by the combination of the sulphur liberated by the decayed ebonite and the salty air of Rio. An insulating bar supporting the terminals, the bosses of the disks, and the handles for the terminals and switches connecting the Leyden jars were in the same condition. The metallic parts were covered with oxide and dirt, with the charge collectors missing. Of the neutralizer brushes there were some remains, looking as a kind of cloth with embedded metallic wires. The two Leyden jars were missing, with only their metallic bases remaining on the wood base. The handle of the crank was also missing.
My intention on this work was more on restoring the functionality of the machine than on restoring the original appearance. I started the restoration making a new crank handle in wood, and a new axle for the driving pulleys in brass, as the original was very worn. I cleaned and painted the base, cast-iron upright supports, and driving pulleys. The terminals and neutralizers I just polished, removing the oxide and dirt, and applied some wax as protection. I made new charge collectors, as 0.25" brass bars bent in U, with brass balls at each end, and with points made with brass wire soldered to holes drilled in the U bars. I fixed the collectors to the terminals using screw holes that were there apparently for this purpose. I made new Leyden jars using glass test tubes of appropriate size, with aluminum foil inside and outside and acrylic lids. Brass wires connected the jars to the original switches in the support bar. The neutralizer brushes were replaced by a few thin nickel-chrome wires in brass supports that I added to the original neutralizer bars. The disks and other ebonite parts, I sanded with sandpaper of progressively higher grades, of the type used with water, until the polished black color was restored. I then added a layer of carnauba wax to protect them and improve the appearance. The original sectors of the disks were originally laid with poor precision, with evident misalignments visible in the dark marks that they left in the disks. I made new sectors in aluminum foil (of the type used in discardable food containers), slightly larger than the originals, and glued firmly them in place with synthetic rubber contact glue, trying to form a precise pattern instead of following the original pattern. After this, I added a new layer of carnauba wax. I replaced the old leather belts by rubber belts, that work more smoothly (large "O" rings).
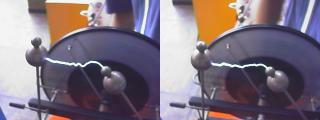
The finally rebuilt machine worked very well, producing sparks with up to 9 cm in length (the small balls in the terminals do not allow more), and about 18 uA of short-circuit output current. It self-excites easily, and is quite insensitive to humidity.
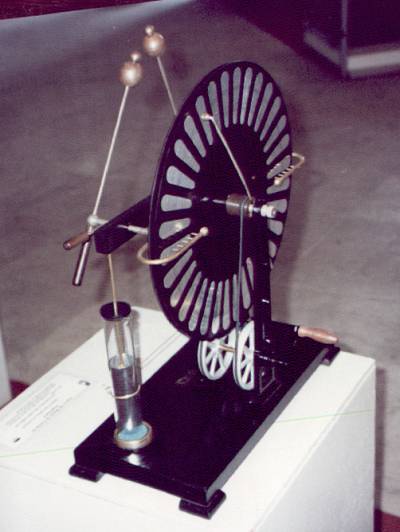
The machine soon after the restoration. In an exposition in October 1998, producing sparks (note the best disposition of the terminals for long sparks, with the positive terminal inclined in the direction of the negative), and lighting a neon tube connected between the outer plates of the Leyden jars.
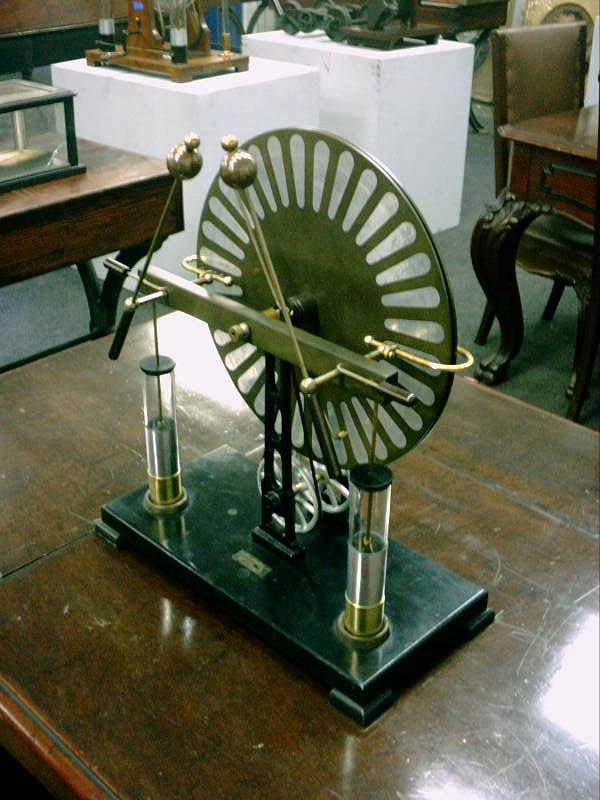
By March 2002 I cleaned the machine again, this time
varnishing the metals for protection, and made brass sockets for
the Leyden jars. The ebonite disks were almost brown again, but
the machine was still working well. A picture.
By June 2005, the machine had ceased to work, due to excessive
conductivity in the disks and insulators. I removed the sectors, that
were almost loose (the contact glue originally used did not hold the
sectors very firmly), and sanded the disks again, using several grades
of wet sandpaper (400-600-1500), removing the brown material until the
surface was barely showing the marks of the previous sectors. A note
about this is that it's important to sand always in the same direction,
or scratches that are difficult to remove appear. Wet sanding is also
essential, or everything around becomes contaminated with a
bad-smelling dust. With the sanding complete, I tested the insulation,
noting that the disks were easily electrizable by friction, and then
varnished them with two layers of polyurethane varnish, carefully
applied to obtain a smooth and clean surface. After letting the varnish
harden for several days, I glued new sectors over the marks of the old
ones, using the same contact glue used before, but with a bit more of
glue, hoping that it will hold better. I also sanded and varnished the
horizontal ebonite insulator, and varnished all the metal parts and
ebonite handles too with polyurethane, to see if the varnish protects
the metals from corrosion better than the shellac used before. I made
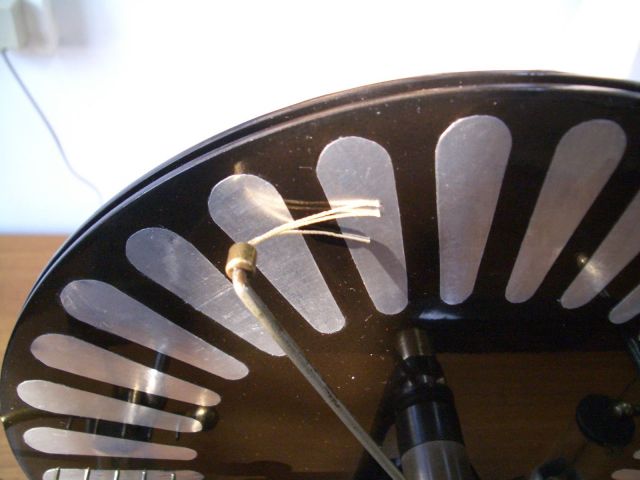
neutralizing brushes with groups of three silk threads with thin
nickel-chrome wire wrapped around it (3 turns/mm), fixed with some
glue, joined at one end with some turns of the same wire. These brushes are practically unbreakable. I monted
the brushes in the neutralizers with care to guarantee good electrical
contact (or the machine doesn't start). The resulting machine initially
started
easily, and worked well, although it didn't reach the same
performance obtained after the first restoration. After a few weeks
more problems appeared.
The glue didn't hold the sectors firmly over the varnish, and they had
a tendency to get loose. Eventually the machine ceased to work
entirely. A serious problem was noticed with the polyurethane varnish
applied over the ebonite parts. Some reaction occurred below the
varnish layer, turning the ebonite conductive. This is noticeable by
touching a charged electroscope with a varnished part. The electroscope
indicates less charge, but returns to the original position when the
part is moved away. This happens because charges move under the varnish
layer. The varnish was removed from the disks, and new sectors were
made from adhesive aluminum tape. The machine was tested still with the
varnished horizontal insulator, when it was found that the insulator
was short-circuiting the machine due to the same problem. I will now
remove the varnish from the insulator too, and the machine shall return
to work soon. I will probably change the charge collectors too,
replacing the hard points by flexible ones, to avoid damage to the
disks if someone operates the machine without care and lets the
collector points touch the disks.
Antonio Carlos M. de
Queiroz
Return to Electrostatic Machines